This post is for
Eva and anyone else who would like to
I pulled this small quilt top out of my pile.
It is destined for a donation since it's is not my taste.
I just hope someone out there in this big, wide world
will think it's pretty.
All of this fabric ended up at my house because...
let's face it....
I never say NO to fabric!!!
It was SOOO simple to put together.
I just need time to quilt it.
Today I'm using it only for demonstration purposes!
I am NOT committing to the quilting....yet!

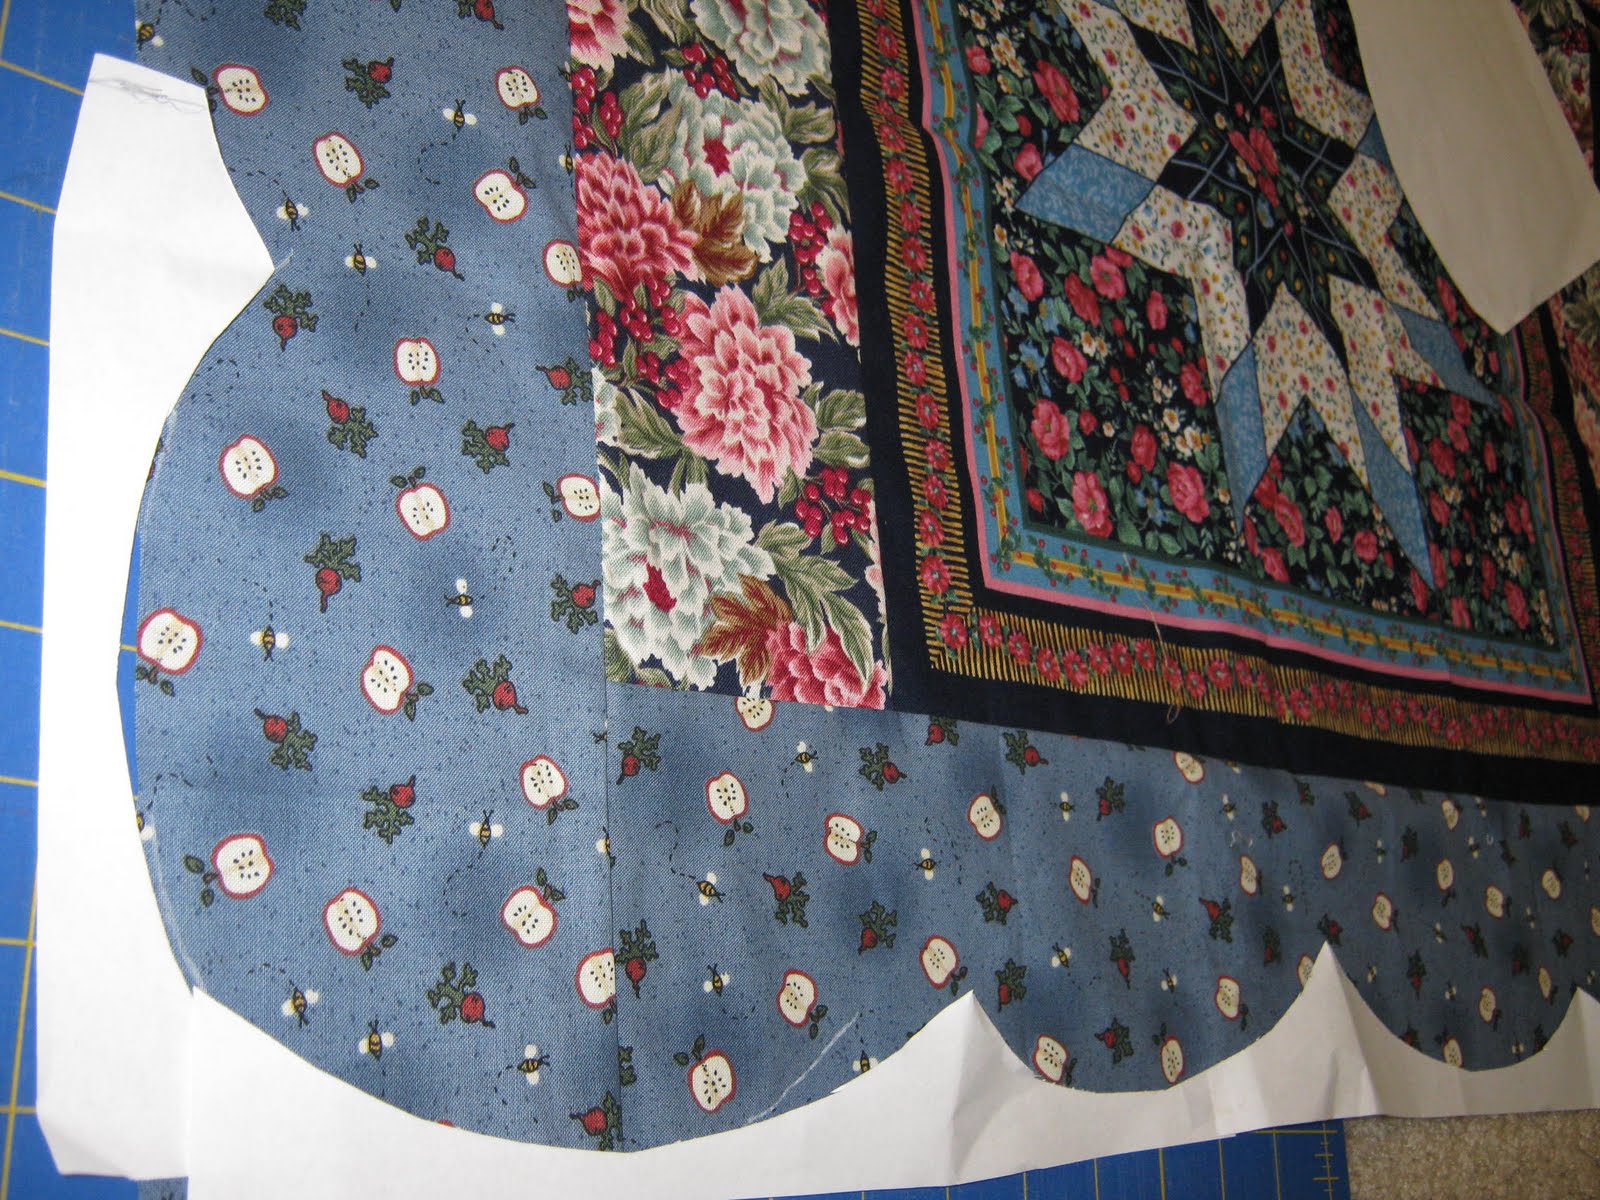
The first step in scallops involves a long piece of paper.
I taped a bunch of pieces together and made sure it was
the
SAME length as my quilt!!

Then I folded that long paper in half....
In half again.....
In half again....
Until it's the right size.
What's the right size?
Any size scallop you want.
There are no rules!!
My scallop today turned out to be 6 1/2" wide.

Use a plate, bowl and anything round.
Draw a
gentle curve on the edge of that paper.

Cut.

Scallops!!
Now to mark it!
There are so many marking tool options!!!
I will use a chalk pencil on this fabric.

This is how I lay my paper down for the next side of the quilt.
I just turned the paper onto the next side
and began marking the curves from that point.
What if the next side of your quilt is not the same length?
Very good question.
If the scallops don't match...
Fudge a little!Make the scallops a little bigger or smaller.
Or make some adjustments at the corners!
No one will be measuring your scallops.

Here's a visual of the corner for you
since my chalk pencil
does NOT want to be photographed!
O.k.
You've got your quilt marked.
Now what?
Quilt it.....
Remembering that you have some scallops marked in there!
When Your quilt is all quilted....
THAT's the time to CUT!!
You will have some lovely scallops.
Be careful.Those edges are cut on the bias and tend to
stretch out!SOOOO.....
get the binding on there
and try to be gentle with that cut edge as you go!
 I'm sitting here counting on my fingers...
 My only problem is I design as I go